
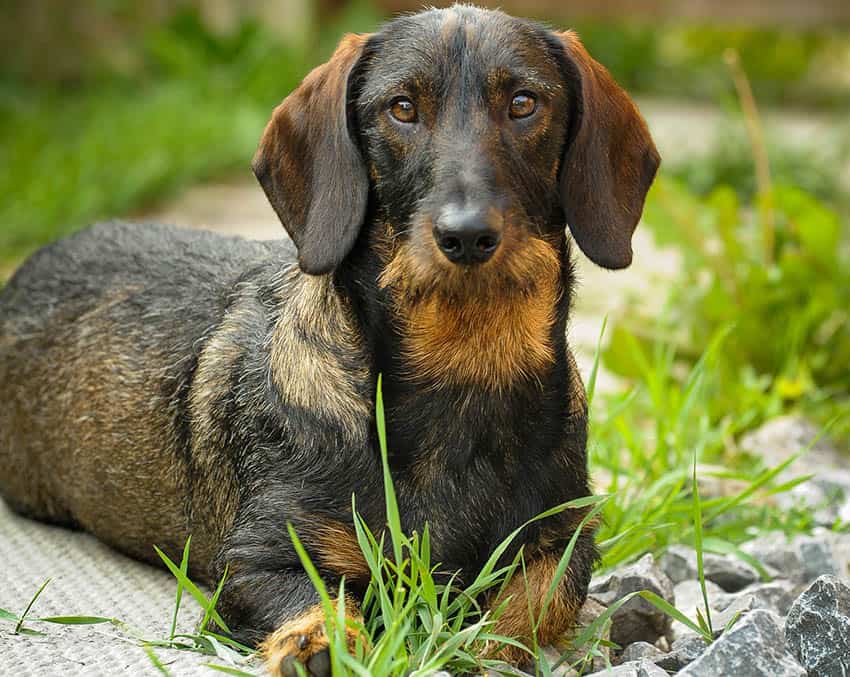
We’ve covered what handstripping is, but now I want to talk about hand stripping a specific breed; the wire haired dachshund.
Hi, my name is Katlin.
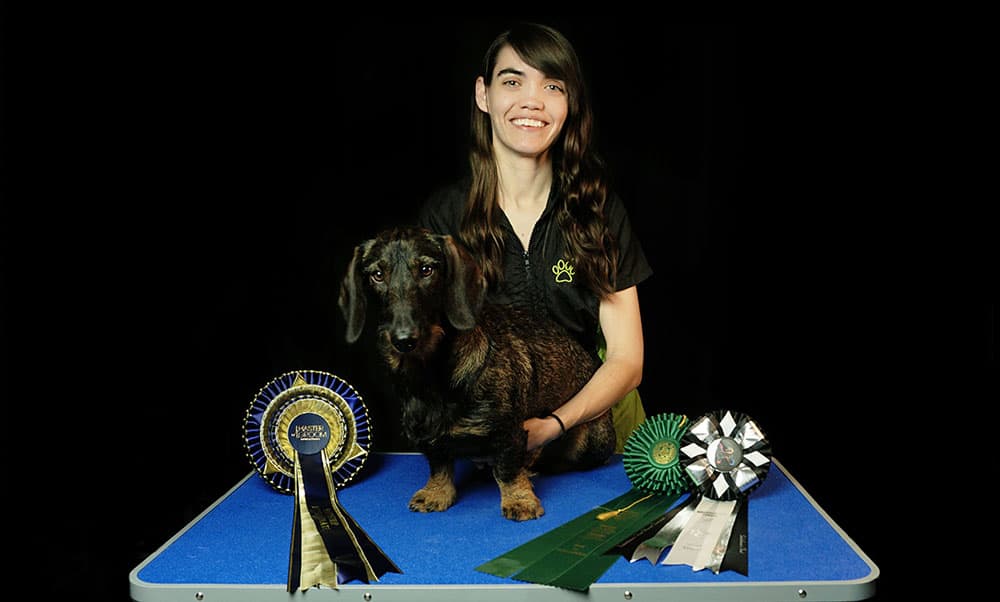
If we’re just meeting for the first time, I’m an award-winning master groomer that specializes in hand stripping and wire haired dachshunds.
Today, we’re going to go through my approach to grooming this specific breed. And at the end I’ll share my secret sauce to becoming a hand stripping superstar.
What is hand stripping? Why do we do it?
Let’s do a quick recap on what hand stripping is:
Hand stripping is the the process of manually removing dead hairs from a wire coated breed.
This encourages new wire hairs to take it’s place.
If we were to cut or clip the hair instead of pulling it, hair would grow in improperly and lose it’s natural color.

Wiry coated breeds go through a cycle in which hair reaches a maximum length and is ready to be pulled.
In the past, working terriers and hounds would have their coats naturally pulled by running through brush, hunting, tunneling, or simply by going about their day.
Without these daily activities follicles have trouble shedding hairs, which will eventually cause the coat to become overgrown and appear faded (also called a “blown” coat).
At this point the hair is easy to remove from the follicle.
And, by doing it ourselves we can shape the coat to give us a more desirable look.
Properly stripping coat is painless, and some of my client dogs actually fall asleep during the process.

How To Hand Strip a Wire Haired Dachshund
With that out of the way – let’s get down to business. Here’s a very quick overview of my process. Then I’ll go into more detail below.
Quick Overview Of My hand stripping process
First we always start with a quick pre-assesment of our dachshund. Which includes whether or not this specific dog can be hand stripped at all (more on that in a bit).
Next, we want to select the best tools for the job. Personally, I always use:
- Stripping Knife Set – Coarse, Medium, Fine, Extra fine (Pre-Dulled)
- Stripping Stone
- Chalk
- Undercoat rake
- Boar brush or terrier pad
Now we can get started.
First I’ll remove excess undercoat with an undercoat rake. Wire coated Dachshunds don’t typically have a lot of undercoat but it will help the coat lay flat when I begin hand stripping later.
Then I can begin the actual hand stripping process.
I’ll do this with my stripping knives, stripping stone, or even just my fingers.
I start with a coarse and medium knife on the jacket, chest, legs, and neck. And then (using a fine knife) move back to the neck, face, and beard (collectively called the “furnishings”).
I allow my dog to lay down and I watch their body language closely. If the dog begins to feel uncomfortable I’ll try stripping a different spot or stop for a break.
The skin will be sensitive following the groom – so beginners should refrain from bathing for at least a week afterwards.
Now let’s go into a little more detail on each step.
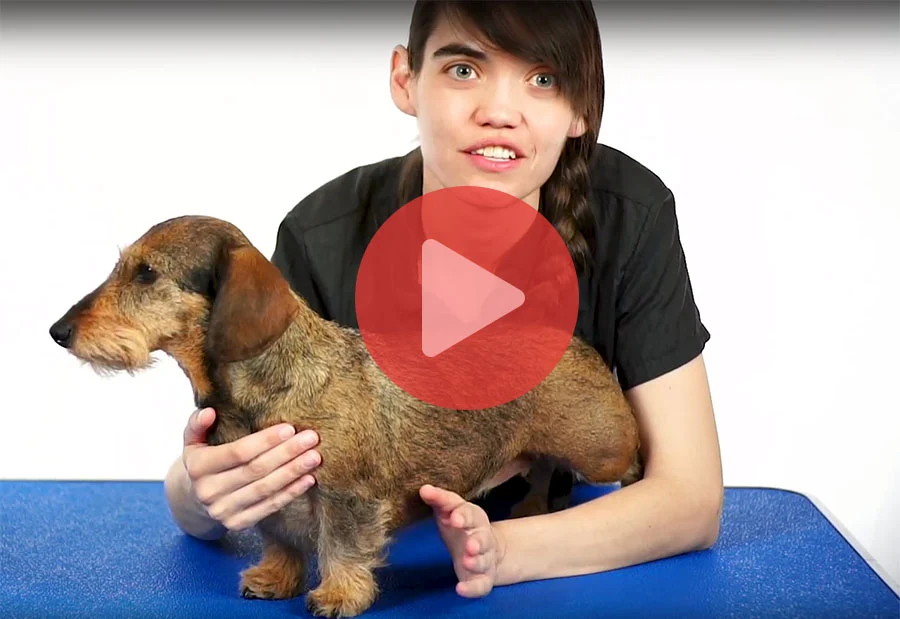
Want To Watch Me Do This For Real?
I could write a book on this topic, so it’s difficult to cover every detail in a short article.
If you prefer to watch and learn – then definitely check out my Free Hand Stripping Crash Course.
It’s a video where I can explain in detail exactly how I hand strip a wire haired dachshund.

Before We Start
1. Can This Dog Be Hand Stripped?
You may be thinking “Of course! I have a wire haired dachshund.”
But sometimes these dogs have been clipped so many times from the previous groomer that it becomes impossible to strip. It could also be a mixed breed which comes with some challenges.
Furthermore, older dogs that have been spayed or neutered go through hormonal changes that change the texture of the coat.
If the coat is very soft and “whispy”, or if pulling hairs causes the dog discomfort or to yelp – then hand stripping may not be possible.
2. Are There Any Obvious Medical Concerns?
Before beginning always look for ear infections, eye infections, bruises, cuts, sores, or rashes. Also pay attention to any limping, lameness, or sore joints.
If any of these are present then please have your dog visit a vet before proceeding. You may worsen their condition by grooming.
3. Keep Your Dog Comfortable
Lastly, we want to make sure our dog is relaxed and comfortable.
Hand stripping is a long and tedious process, so we don’t want to force the dog to stand for long periods of time. Allow them to lay down or rest during the groom.
Listen and watch your dog, if they seem stressed or irritated then take a short break, move to a different section, or stop completely.
If you see redness, bumps, or bleeding on the skin while hand stripping then STOP immediately.
The Best Tools for the Job
One of the most common questions I receive is “what is the best ___________ for hand stripping my dog?“
And the answer is: it depends.
There are plenty of hand stripping tools out there that can get the job done. It’s just a matter of finding what you like best.
And the only way to know that is to try a bunch of different things.
My Basic Tool List
That being said – I personally use a set of fine, medium, and coarse stripping knives with a thick handle. I wrapped the handles with a soft medical tape to make it more comfortable for my hands.
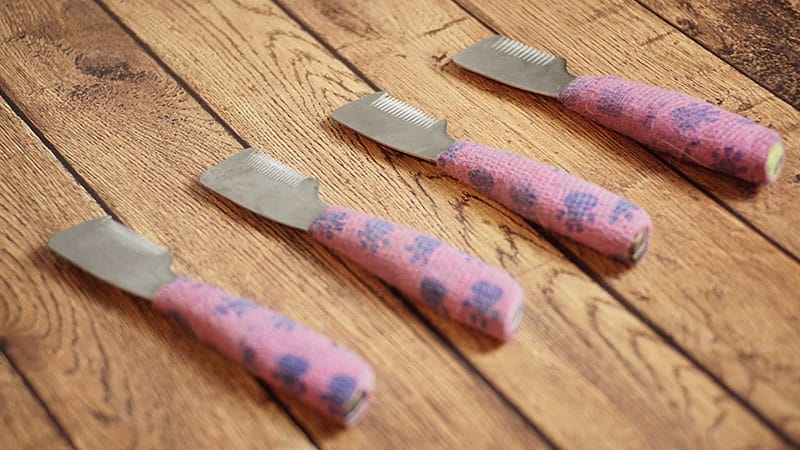
My stripping knife has flat edges which stops coat from being cut (remember: we’re pulling coat, not cutting).
I’m also a big fan of Stripping Stones for finer details around the face and ears.
I use a boar brush to gently brush away loose hairs and move oil through the coat. And chalk to better grip the coat if needed.
Finally, I have a generic undercoat rake which I use at the start of the groom.
Make Sure Your Knives Are Dull
Remember – we are pulling coat, not cutting it. Stripping knives are not actually knives, they are simply there to help us grip.
When you get your first set of knives I can almost guarantee they’ll be too sharp.
Dull them first by cutting up pieces of cardboard, or rubbing them in chalk.
How To Hold Your Stripping Knife
How you grip your knife is incredibly important.
Place the handle in your fingers (not your palm) and wrap your fingers around the handle. This stops you from gripping the knife too tightly and creating too much force when stripping.
Place your thumb along the blade.
Never bend your wrist. Hand stripping is a smooth movement between the elbow and shoulder.


Hand Stripping Tips & Technique
Hand stripping is an advanced grooming technique that should only be attempted after receiving professional guidance. Therefore, the advice in this article is for informational purposes only.
If you’re interesting in receiving more guidance then scroll to the bottom of this article to learn about my online hand stripping class.
Removing Undercoat
When I’m hand stripping I will typically start with an undercoat rake first.
Holding the dog’s skin tight yet comfortably (not pinching or gripping too hard), I will move the undercoat rake with the grain (not against the growth). Holding tension on the skin will prevent accidental cuts or pulling.
Depending on the growth you may not get a lot out – but it will make stripping easier later on and allows the guard coat to grow more freely.
Hand Stripping Technique and Tips
I’ll usually start with my most coarse knife and begin moving down the top line (along the top back of the dog). Again, I’ll do what’s most comfortable for the dog.
When hand stripping with a knife you will grip hair between your thumb and the edge of the place, moving with the grain of the coat, and keeping your wrist straight at all times.
Ensure you’re gripping your knife properly. Hold the skin firmly but comfortably; this stops us from pinching the skin with our stripping knives.
When stripping hair you’re only using about 50% pressure between your thumb and the blade of the knife. And you should only be pulling 1/3 of the hairs you grip.
Always pull in the direction of growth.
Only go over the same spot once or twice, brush, and check your work.
This may seem obvious but I often remind my students: you can always pull more hair out, but you can’t put it back. Go slow, take your time.
From time to time – take a boar brush and move it down the coat. Now closely inspect and see if there’s any spots that require a bit more pulling.
Extra tip: Dip your hands in some chalk for better grip on the hairs.
Furnishings (Face, Beard, and legs)
The furnishings are a more advanced level of hands stripping for several reasons, namely; these are sensitive areas, and it’s easy to mess up.
When pulling more sensitive areas like the belly or feet I recommend only pulling a few hairs at a time. This is much more comfortable for your dog.
Alternatively, you can simply use scissors or clippers in these indiscreet spots (as long as you’re not grooming a show or competition dog).
To get some areas longer (such as the beard) and other areas shorter (transition areas such as the neck or bum) we hand strip different sections of the dog at the different times.
For example: professionals will let the jacket grow naturally for up to 8 weeks before a dog show, but will pull the neck and ears just 1 week before the show. This is called “Staging“.
The Dachshund Pattern
Here’s a mock up I created for my students to better visualize a perfectly staged, hand stripped dachshund.
Keep in mind this is for advanced level groomers – but I wanted to demonstrate the different lengths and transition areas as a learning aide.

Learning How To Hand Strip Your Dachshund
Hand stripping can be a tricky process. As you can see from my diagram it can be extremely tedious (and easy to mess up.)
More importantly, you don’t want to cause discomfort to your dog in the process.
It’s more than I can explain in a single article. So I recommend you check out my free crash course:
My free crash course is an online video for groomers of all levels (even total beginners) and goes over:
- All the “Do’s and Don’ts”
- All the best tools for the job
- The entire hand stripping process explained in detail
- Step-by-step how I hand strip dogs
Just put in your email address and you’ll be able to watch the training immediately 🙂 Happy grooming!


